So, last Monday, I showed you a few ways you could make your empty wall beautiful by following several courses of action. I promised I would share my big fat fail of an attempt with you and how I got to plan B.
It started out when I found a great online clearance for a large canvas wall art. I checked with my hubby, found an extra coupon code to decrease the price ;), and bought it. I was super excited for the package to arrive so I could see how the canvas art looked in our living/dining room.
I waited…
And waited…
And still the package was nowhere to be seen.
So I checked the confirmation email. And there was a big problem.
You see, they had shipped the package to my [supposedly] default shipping address. And the last time I ever ordered anything from this company, I had it shipped to Korea.
Fail.
After mentally calculating potential shipping costs, I quickly concluded that I would have to pay a MASSive amount of moolah for shipping…way more than what the canvas was worth.
So, back to the drawing board for me. I really liked the idea of doing a wall of pictures because I could switch out the pics for new family ones – I wouldn’t be stuck with the same color scheme just because “I bought it and can’t get rid of it yet.”
The drawback: I would need to buy frames…lots of ‘em.
I started pricing frames and found that the ones I was especially drawn to were black, matted (preferably double matted), and square. Read: expensive.
One day, I was browsing through Old Time Pottery’s clearance section and I found these beauties:

I KID!!!! Hehehehehe…I had to look a long time to find those. 😉
No, really, I found the frames below:

And they were 75% percent off, making them just 50 cents each.

happy day! I bought a bunch of them plus a can of black spray paint from Lowe’s…satin finish.
Took the frames apart…(see the mat? Those 2 pieces just popped apart really easily)

Lightly sanded them, then laid them on newspaper and gave them 1-2 coats of spray paint. I’m still new at this spray painting stuff, so that’s why I had to do extra coats. It was more like touch-ups. By the way, I learned the hard way that I had to sand them. It hit me after I saw the paint running off the frames…yeah.
The backings needed some love…since I wanted them to hang flush against the wall, I popped the little “kickstands” out.

There were no wall brackets. Grr. I found a pretty good selection at Michael’s, though, and, thanks to a 40% off coupon, they were in my possession.
Now, let me just tell you the way I did this the second time, rather than going through my every mistake. If you plan to hang MULTIPLE pictures in a symmetrical set-up, you MUST be precise. (unless you don’t care if your pics are unevenly spaced.) Okay. That was your warning. Take it from Miss Did-it-the-wrong-way-had-to-rip-it-out-&-start-over. (poor kid…she was the last one to learn to spell her name in kindergarten)
Buy some strong glue. Here’s what I bought from good ol’ Michael’s:

It was amazing. I highly recommend it!
Here is how I made the placement of my brackets exactly the same…
- Remove the backs of your frames.
- Place them exactly on top of each other (I only did about 5 at a time)
- Take 1 bracket, place it near the top center, and mark the two holes using a pencil.
- Drill 1 hole at each mark, making sure to keep frames directly on top of each other.
- Glue brackets on top of drill marks. Let dry completely.
Insert pictures and hang!
(If you want detailed instructions on how to hang the pictures symmetrically, let me know…I could do it in a separate post. Or you could just google it and I’m sure you would find a better explanation than I could ever give you. Because, I really don’t want to do another post on this topic.) 😉
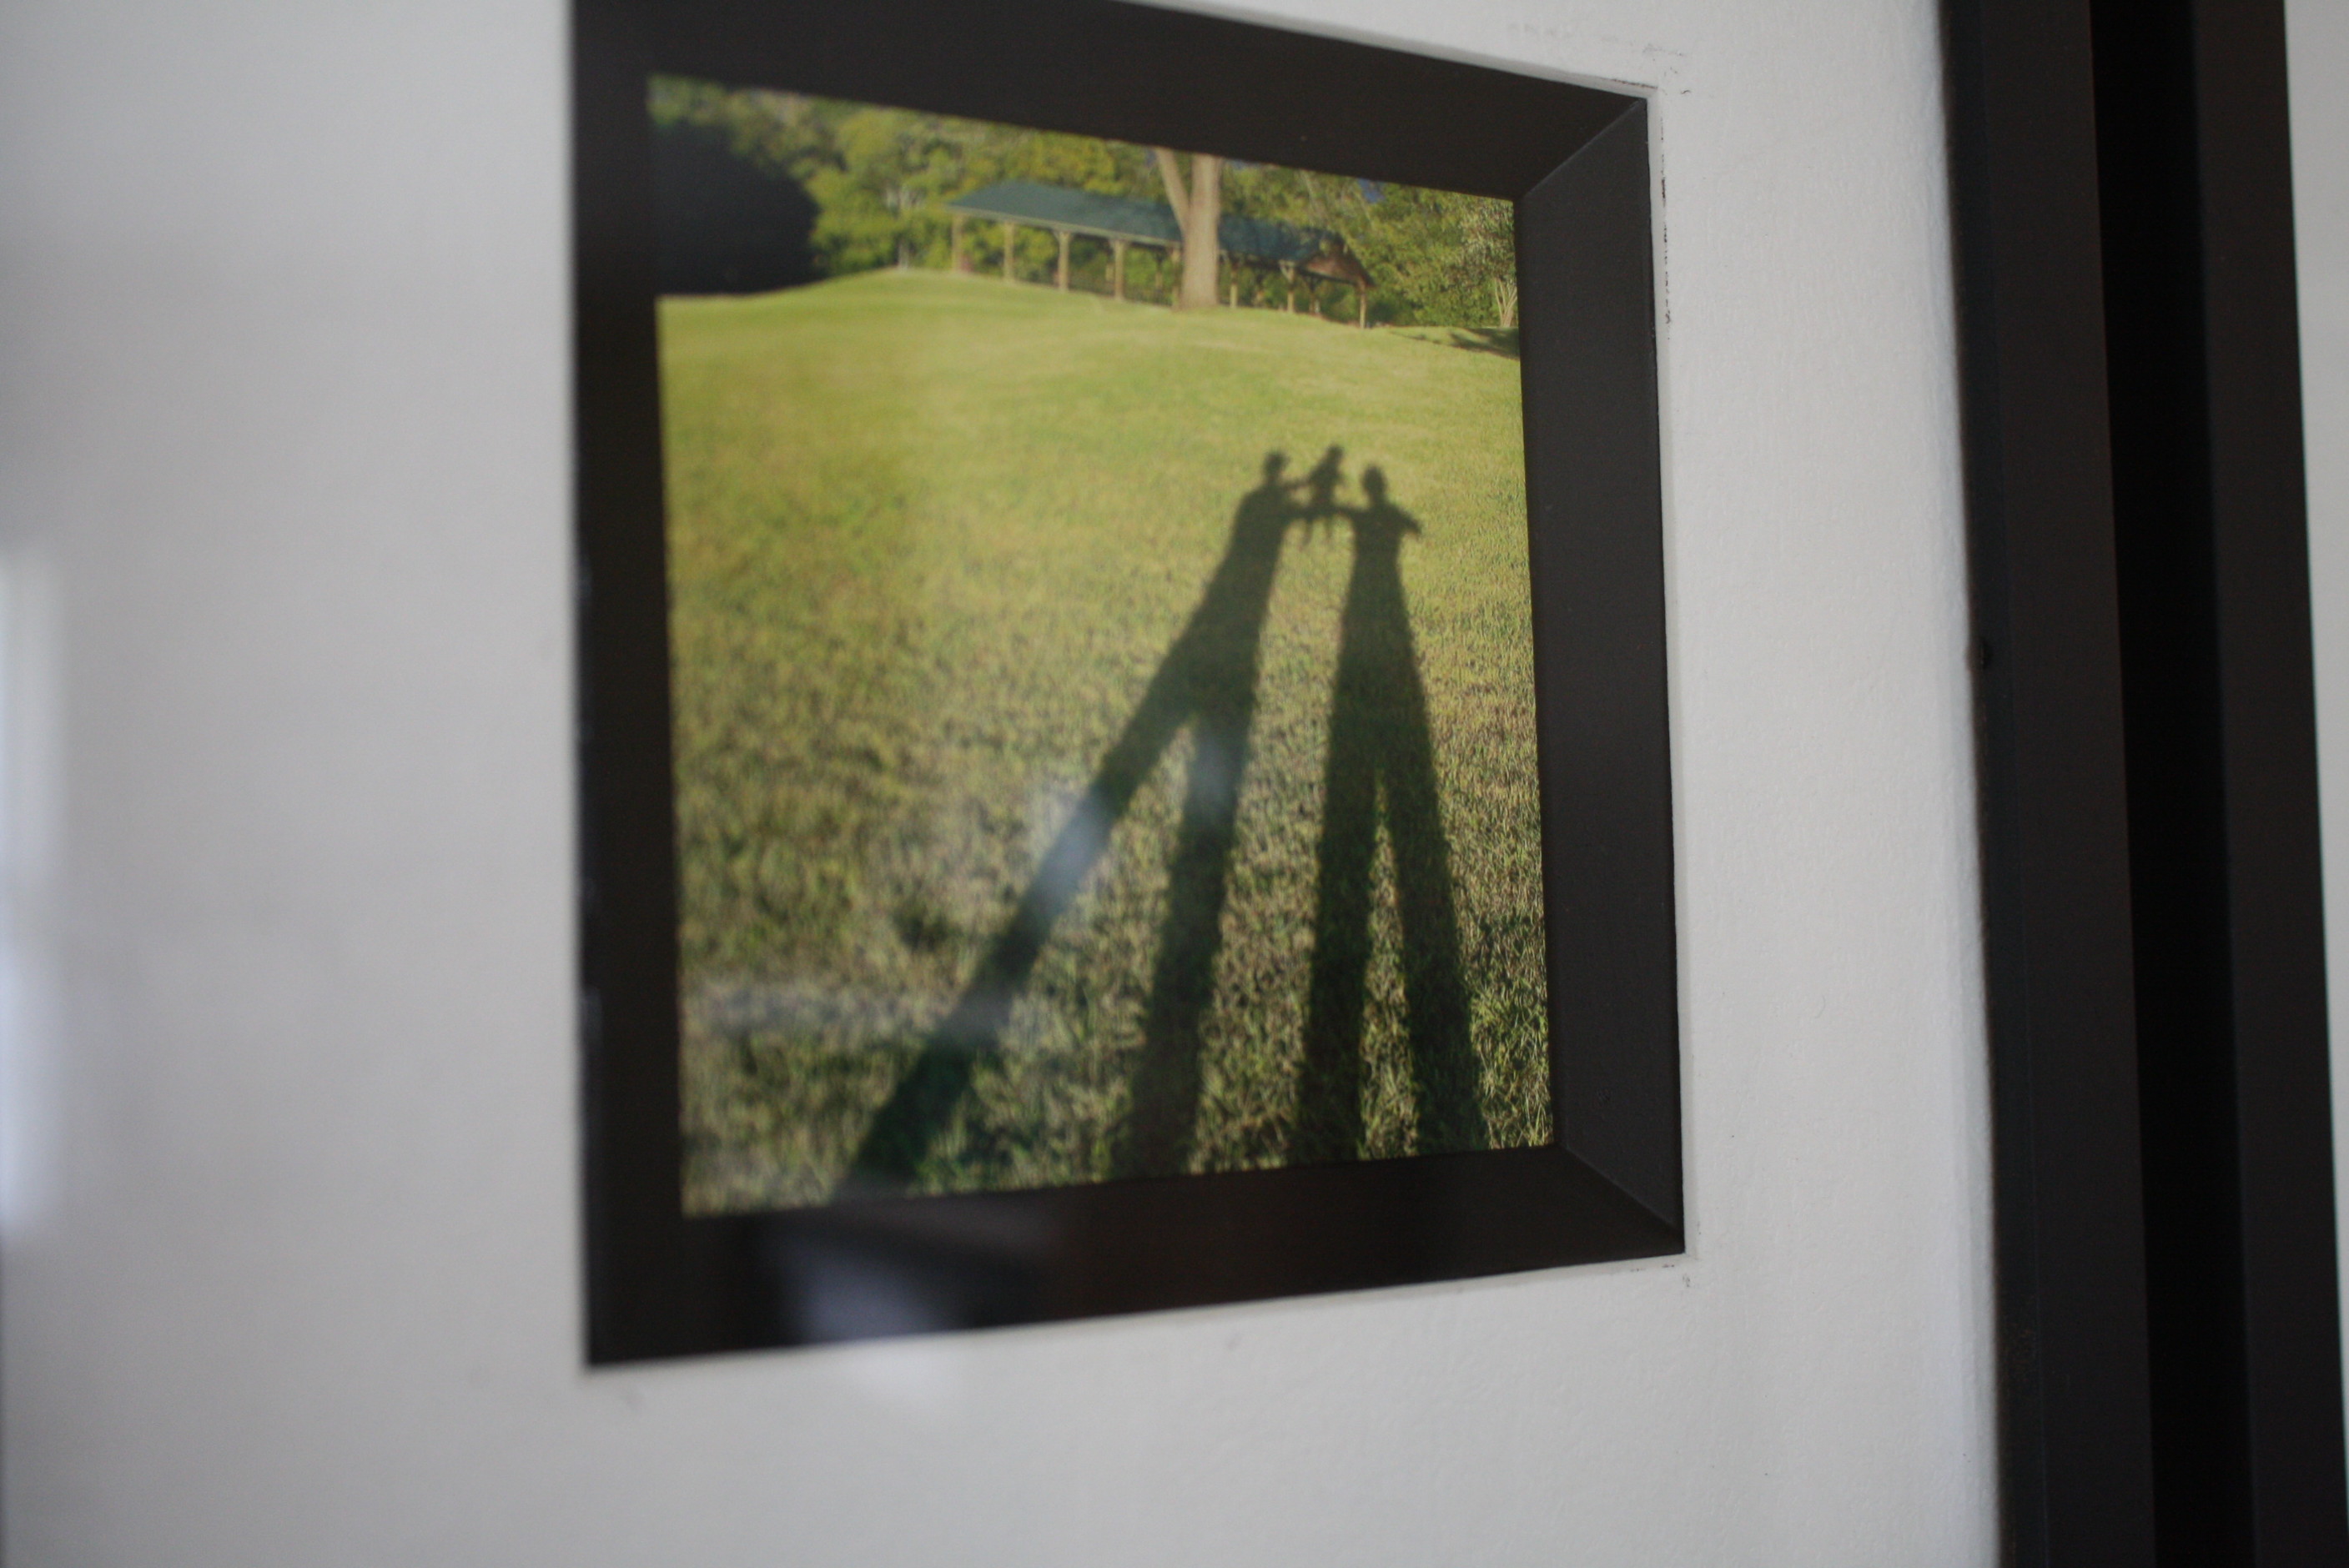
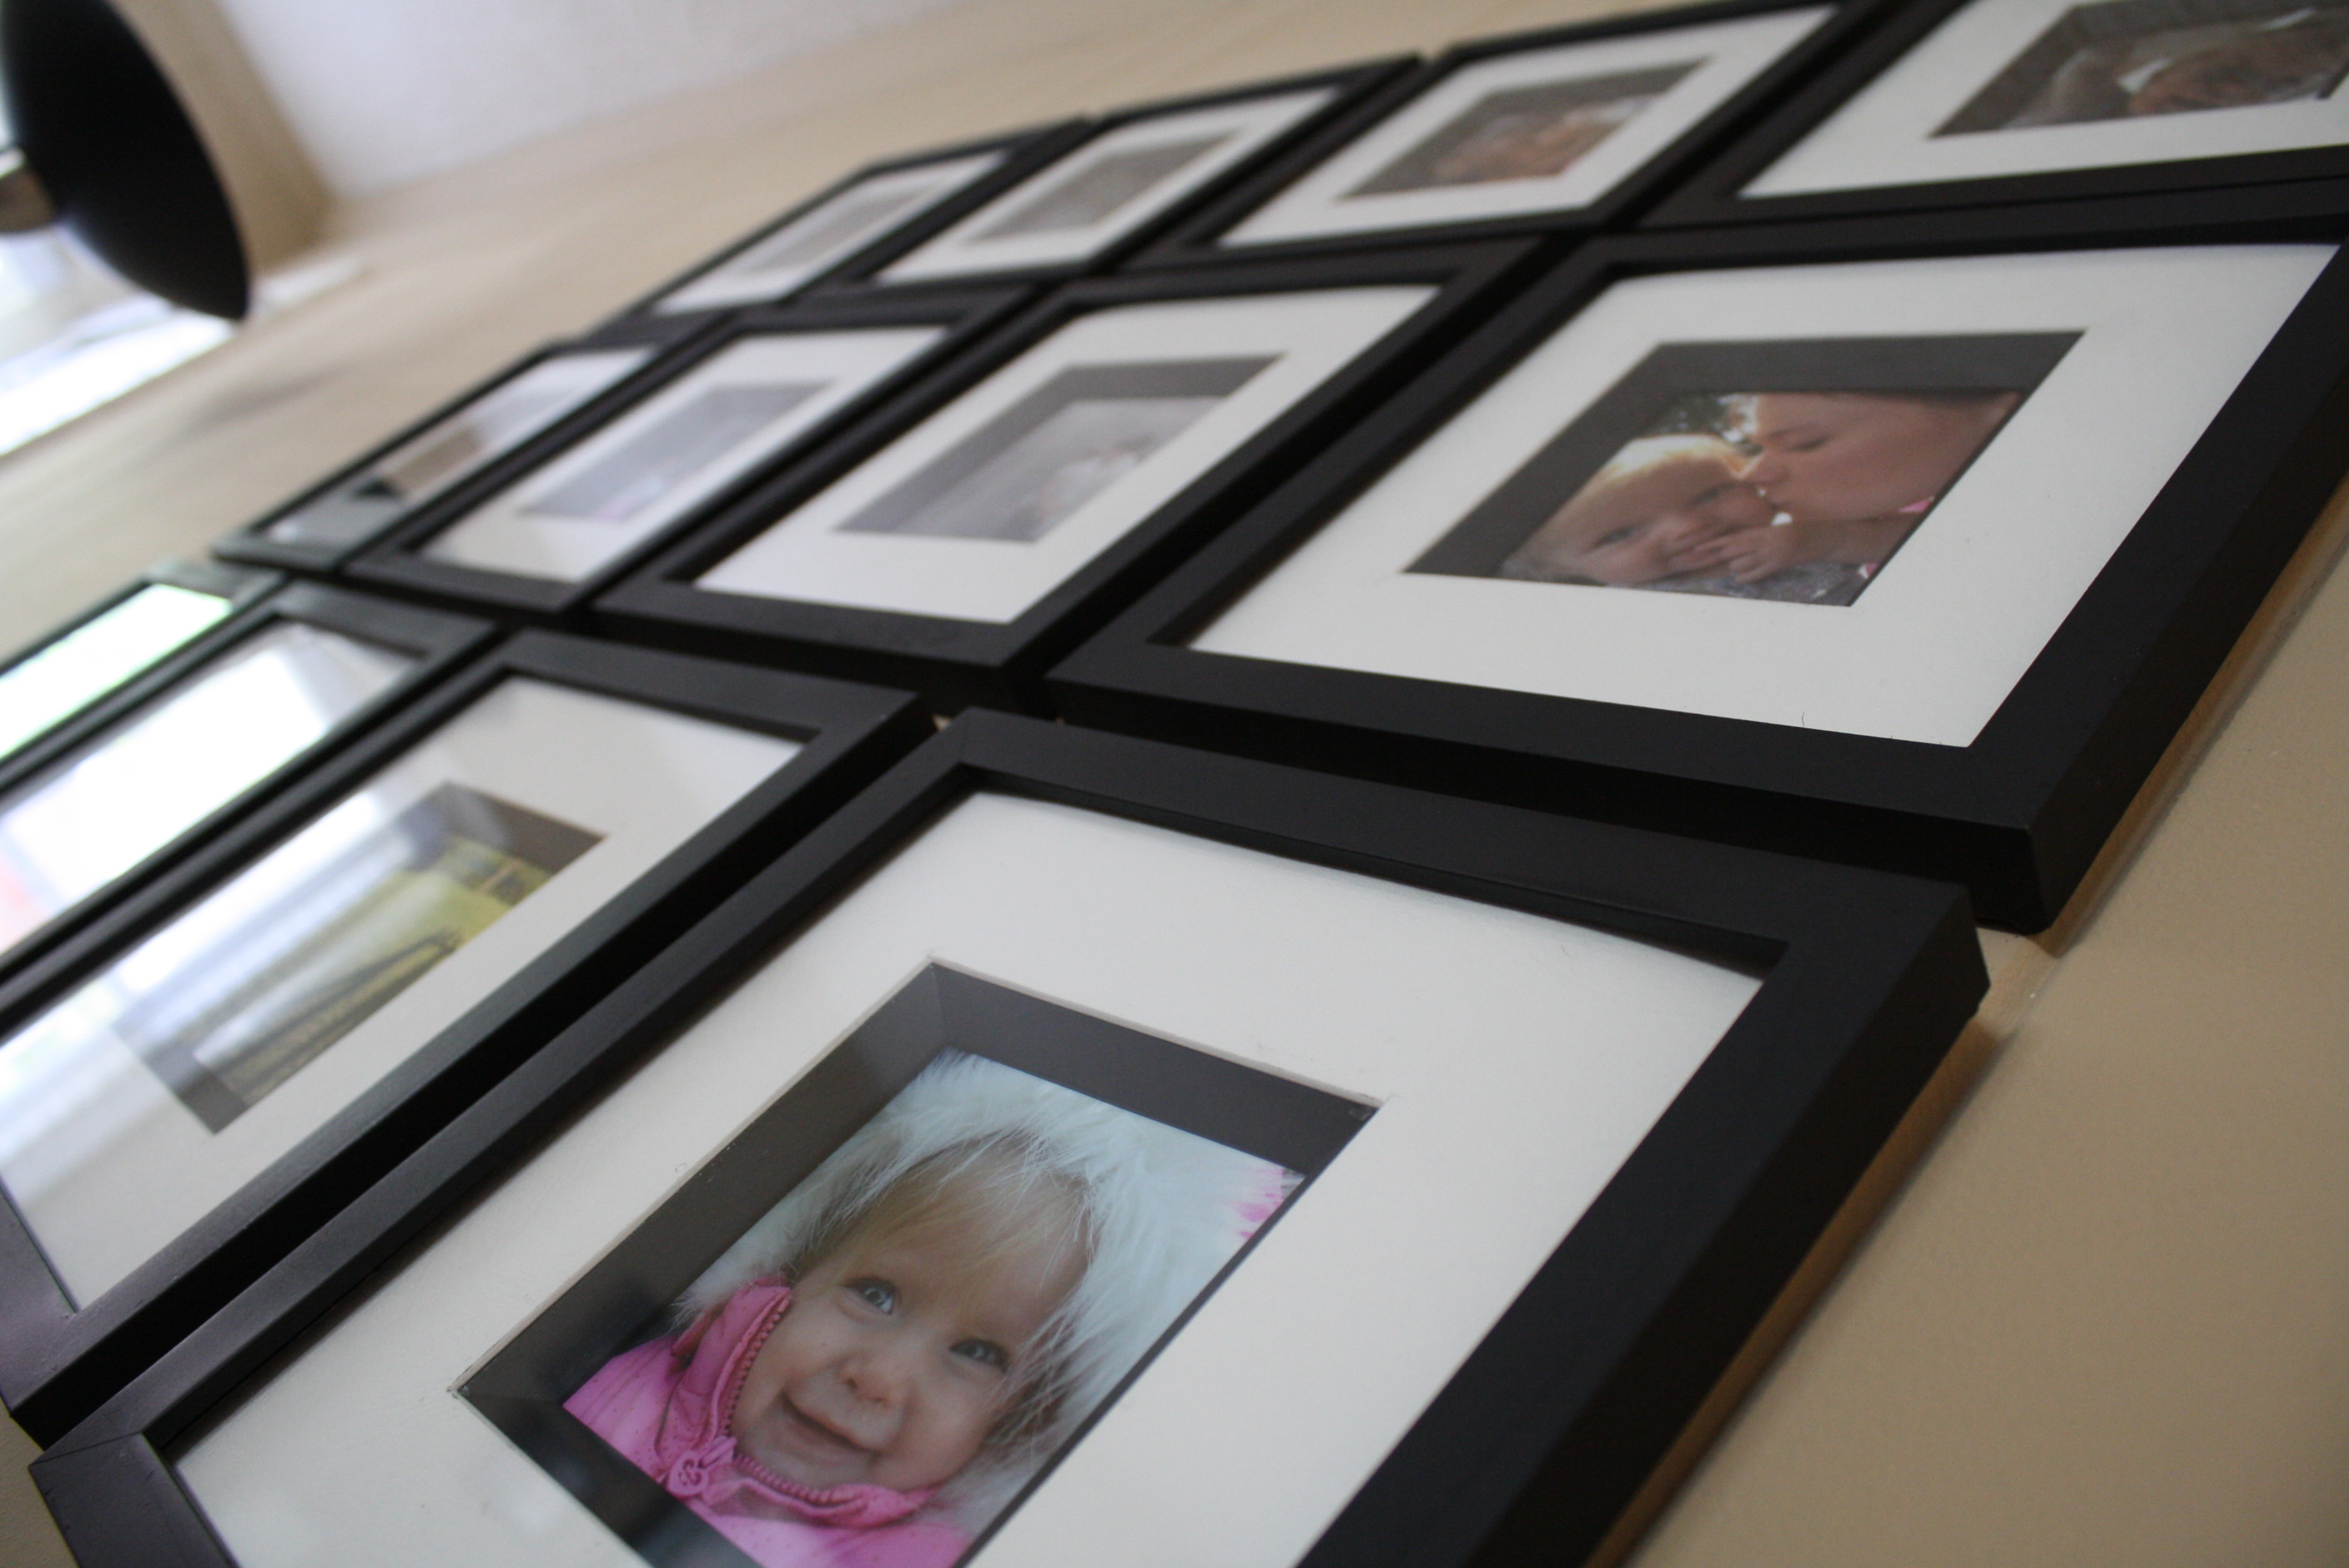
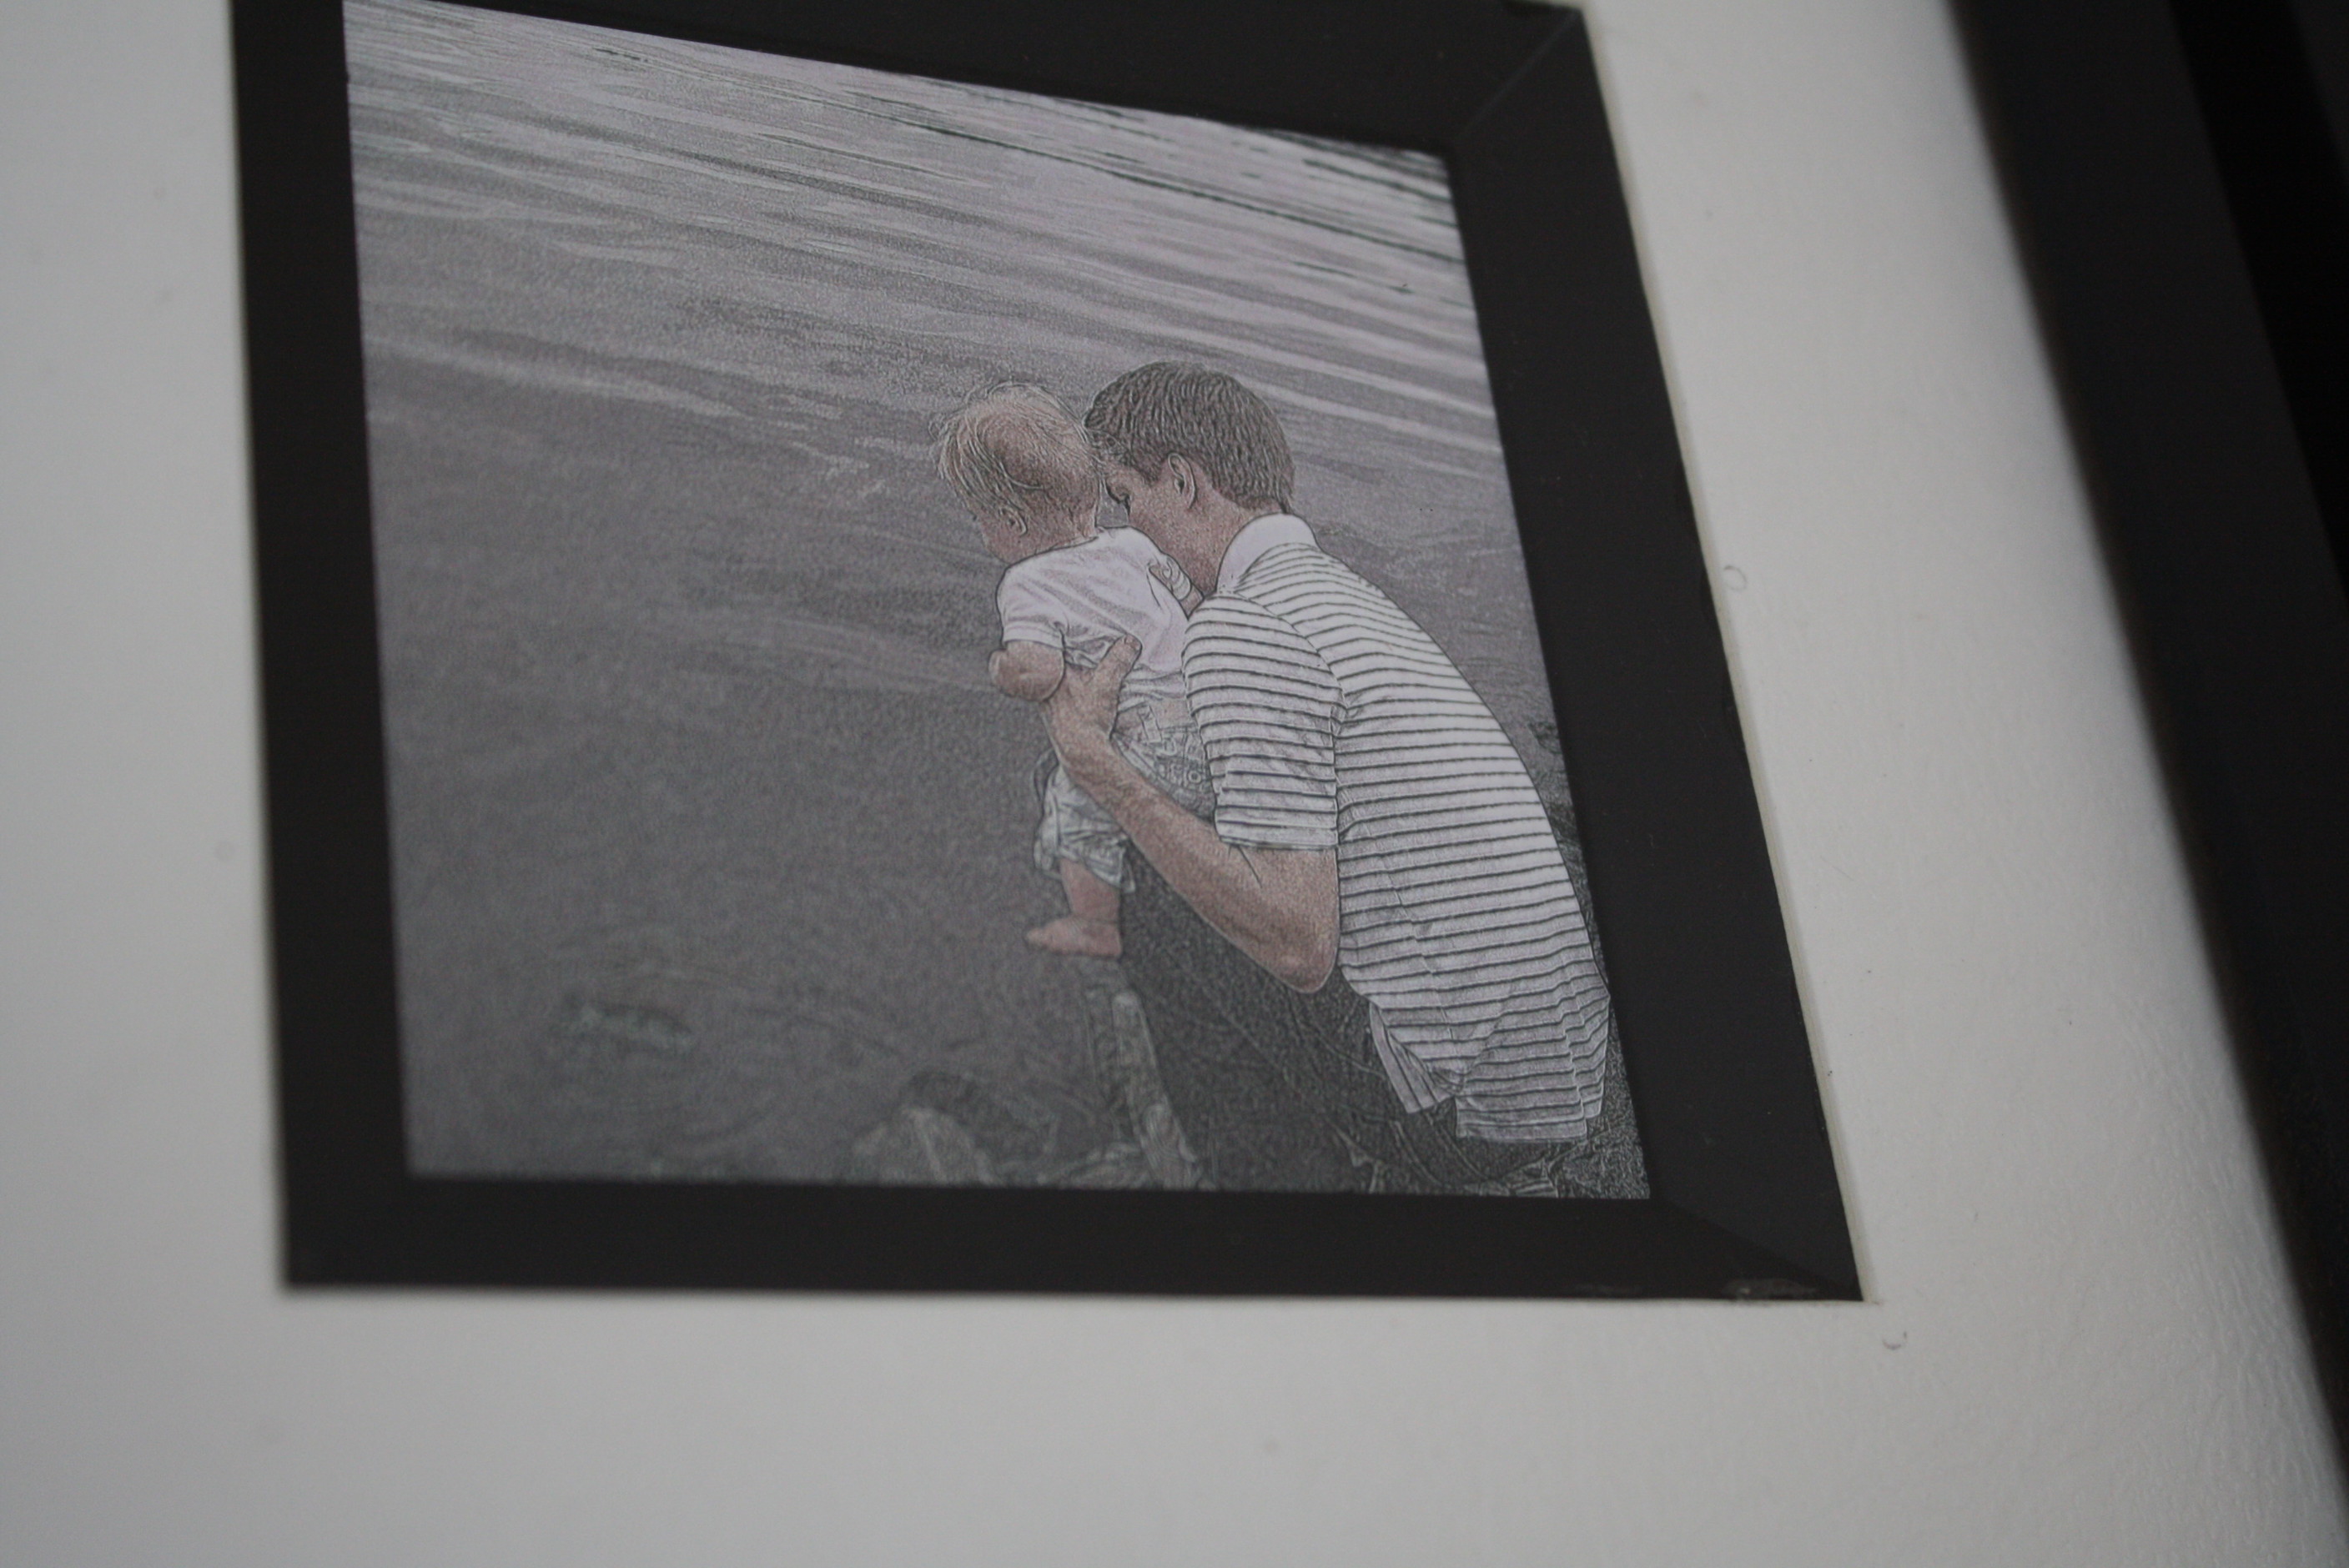
Here is the final product:

We love it! It makes our home so much more personal and family-ish

And there you have it, my friends.My wall is now clothed. 🙂
I’m linking up to:
Keeping it Simple
Thrifty Decor Chick
Between Naps on the Porch
The DIY Showoff
Chocolate Drool & Kisses
Sumo’s Sweet Stuff
C.R.A.F.T.
Craftomaniac
Comments
21 responses to “What to do with my Behemoth-sized Wall, Part 2”
Well I am in love with your photo wall!!!! Love the way you can change out pics to keep it up-to-date and “different.” Love the way you were able to spray paint the frames – spray paint and I have issues! Looks fantastic, so proud of you!
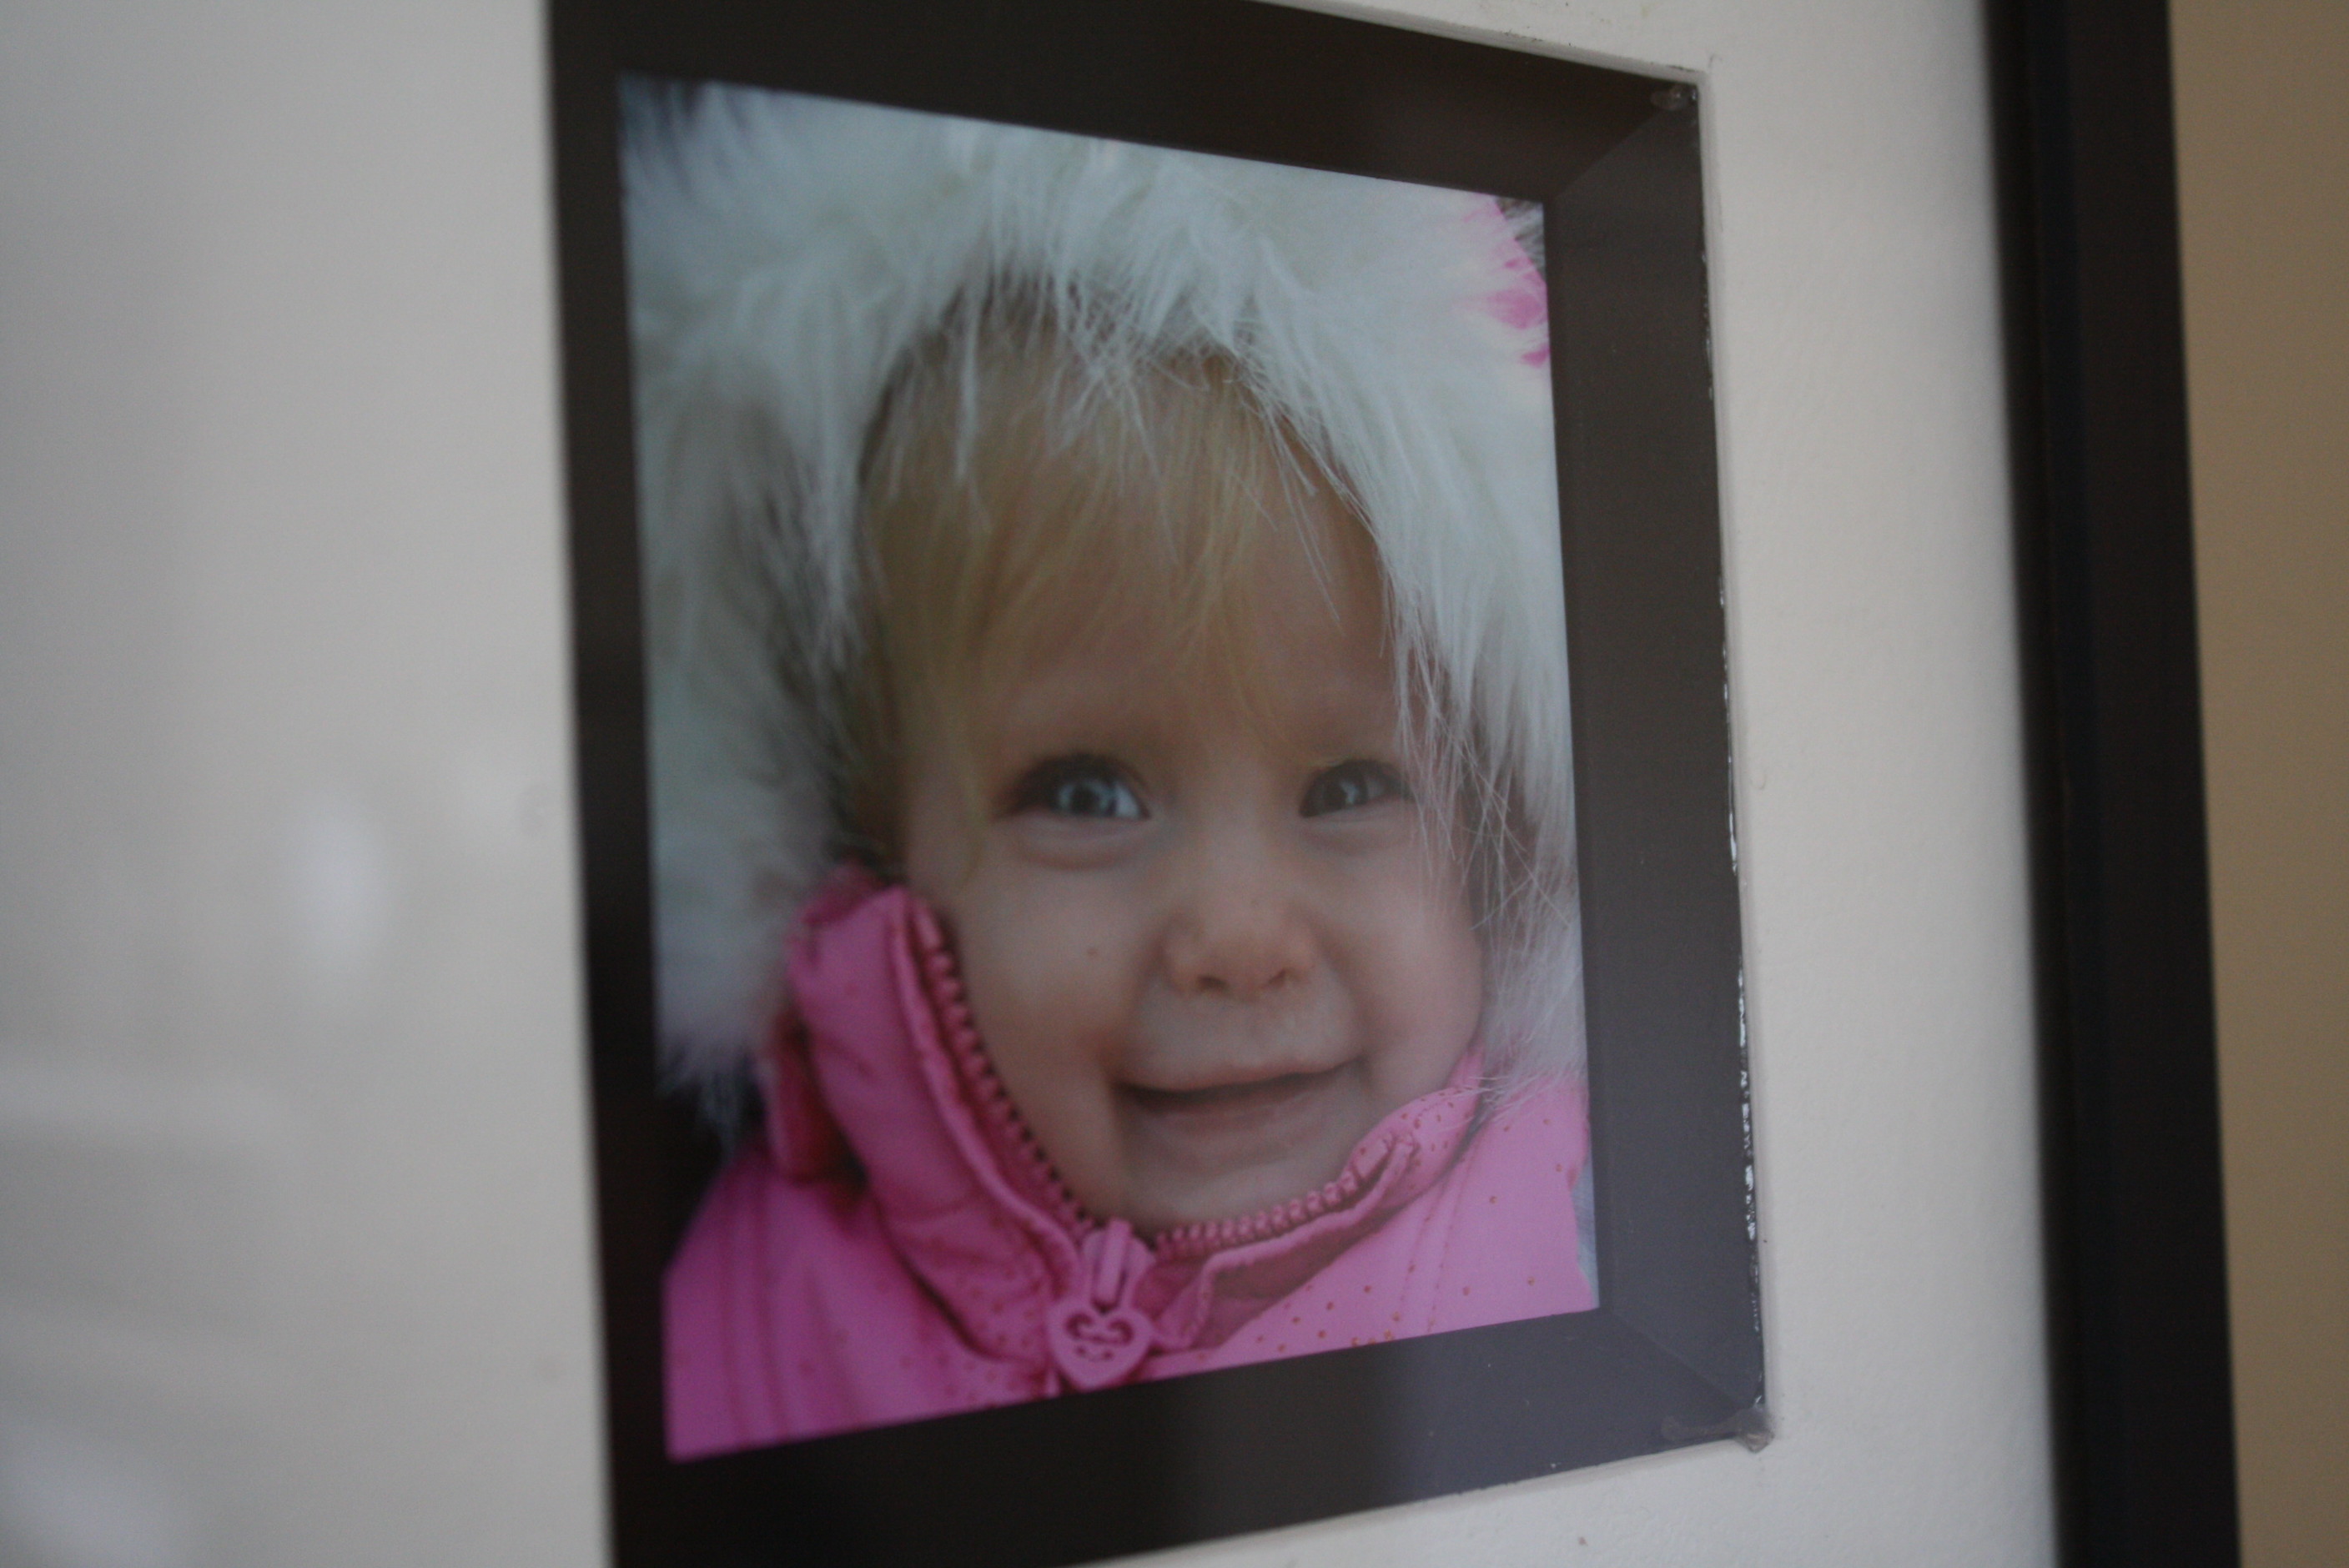
I.LOVE.this! It looks wonderful! Yes, spray paint and I are slowly getting to know each other too. 😉 You did a wonderful job and I love the pictures of your little cutie. Precious. And I laughed and laughed and laughed at “Take it from Miss Did-it-the-wrong-way-had-to-rip-it-out-&-start-over. (poor kid…she was the last one to learn to spell her name in kindergarten)” Hilarious!
🙂
Well done. You’re fail cracked me up. I’ve done that before, but it didn’t end up in Korea!! Ahhh!! They look so great. I’d love to hear your tips on getting them hung so perfectly. Thanks so much for stopping by my blog today and leaving a comment. I appreciate that!!
Thanks, Kristy! I really loved the chair you re-did!! Super awesome job! Thanks for stopping by and letting me know you did! 🙂
haha – you know, I almost deleted that part. but it made me laugh, so I kept it in. 😉
you know what, spray paint & I have issues sometimes too. but I’m determined to learn because it’s soooooo much easier than brush painting!!
Yes, spray paint isn’t as easy as it looks, but now I know that sanding might solve my problems, lol. This turned out fabulous!
Thanks so much, Terry!!
Love the grid! Your art gallery looks great!
Thanks! I just checked out your art gallery wall! It looks great too! Good job! It feels so nice to get a big project like that done, doesn’t it? 🙂
You did a fantastic job on your gallery wall. So impressed with the spray painting and how straight you hung them. We have a huge wall above our couch that I would like to do a gallery wall on, but I’m afraid I could never get the pictures as symmetrical as you did!!!
Thanks so much, Kara! I’ll tell ya, it was a pain.in.the.neck. to get them straight. took some math and some mistakes (since I’m not amazingly good at math). 🙂 But, I’ve seen awesome tutorials on gallery walls – esp if you don’t want a symmetrical look! younghouselove just did a post on that recently! I bet you could do it!!!
I love this wall it looks awesome. I can’t believe how thrifty you were able to make it I am amazing by your creativity and savings. I am visiting from sumo’s sweet stuff linky party. come and say hi
tyandwhitneyulrich.blogspot.com
Thanks Whitney! love your blog too and your super cute little boy!! 🙂
[…] – that’s my gallery wall made of 50 cent frames that I “made-over.” Ummm…there aren’t supposed to be […]
[…] My lovely $.50 frames are ready to go to their new home. Details from that project here. […]
Great gallery wall – kudos on the bargain shopping.
Thanks!! and thanks for stopping by 🙂
[…] from Brown Sugar Toast created this wall of pictures (and you will have to read her post, she bought her frames brand-new […]
[…] this gallery wall I did in my old […]
It looks fabulous! Did you spray the second brown mat black also?