Just a little do it yourself project to share today. DIY Glitter Bottle, anyone?

This is a pretty simple project made possible by a recent influx of glittery goodness that arrived at my doorstep. Here’s what you need to get started:

I used the homemade mod podge I used on the DIY canvas in my master bedroom, a cheap-o sponge paintbrush, and a bottle leftover from some sparkling juice Jonathan & I had on our 5th anniversary.
After ripping the label off the bottle and soaking it to get rid of most of the gluey substance, I was ready to get to work. Of course, it’s always important to start with a clean work surface.
Using a paintbrush, coat the entire bottle with mod podge.

Placing the mod-podged bottle over a large piece of paper {I used an upside down piece of scrapbook paper}, begin sprinkling glitter over the entire mod podged area.

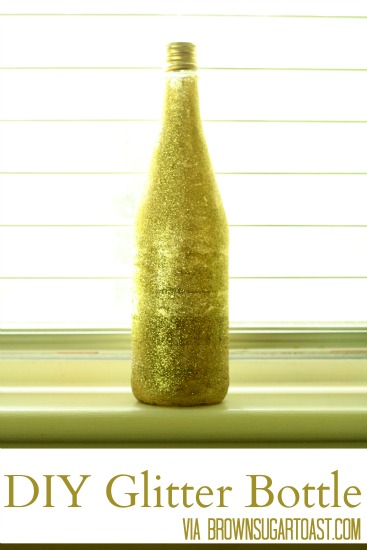
Let dry, then apply a coat of mod podge over the entire bottle. I used the same brush and just lightly “sponged” it over the surface. Once your bottle is dry, place it wherever your home needs a bit of glittery goodness!

For now, she sits in my master bedroom along with a couple other bottles…to be revealed in a future “master bedroom reveal post” when I can figure out how to take decent pictures of that room.

Are any of into glitter right now?
I need some glittery clothes or shoes in my life. Next DIY inspiration? I think so!
just as a little heads-up…a post {especially for the Mommas} is coming up next Tuesday & there’s a gift card giveaway to one of my fayyyyyvorite stores. I won’t spill all the beans til next week, but I had to at least spill 1 bean. It’s just too exciting not to share!
